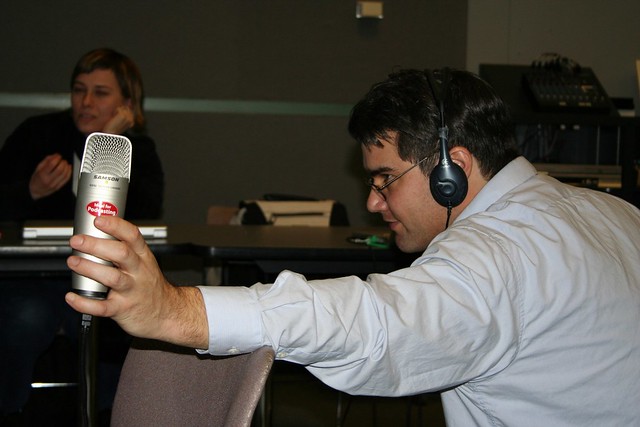
For today’s You Show Prime Time event, TRU’s Jon Fulton did a great session on audio recording techniques and equipment. I’m usually thinking about ways to archive, capture such sessions for those who could not attend due to time or distance.
This was something we did plan for (ahem the operative You Show synonym is improv), so I did what I often do- just pulled out my iPhone and fired up my copy of iTalk. I also try to do this for my own talks, so my presentation site (well it needs to be made into a site) includes not only slides, but also audio, and related URLs.
Here is the final audio:
Jon said the iPhone mic is not so great, but I’ve had pretty good experience for small to medium rooms, and for spoken word, the quality can be okay. #BetterThanNothing. This post describes what I did today to record, transfer, and process this.
The choice of app likely does not matter, since it’s your hardware on a mobile device that does the work. I use iTalk because… well it works for me on iOS. There are plenty of options for Android like Smart Voice Recorder.
iTalk has a Nice Big Button 😉
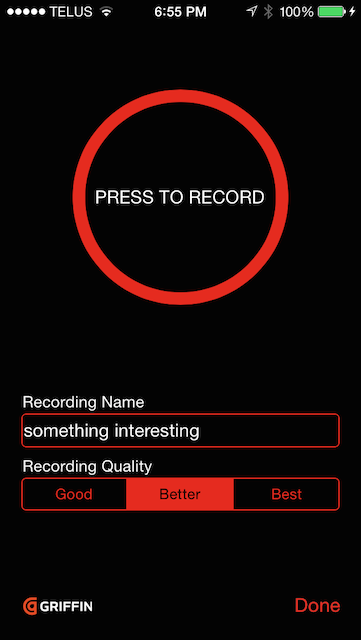
The free version is just as good; I paid the hefty $0.99 to go pro because you get options to send your recordings to dropbox and SoundCloud (the options for the free version are share by email).
But you can also quickly transfer the files by connecting the device in iTunes; way down in the bottom of the apps section, you can find which ones let you transfer files. Select iTalk, and the files on it appear on the right pane, and you can just drag them to your desktop.

The files are in .AIF format; if they are of me doing a presentation, the mic proximity is pretty constant (I usually just sit it on the podium), so I can go to the steps below where I trim and export it from Audacity.
But for audio like today, I was in the front of the room, but maybe 10-15 feet from Jon, and we also had people speaking from other parts of the room. So the gain levels of the audio are uneven.
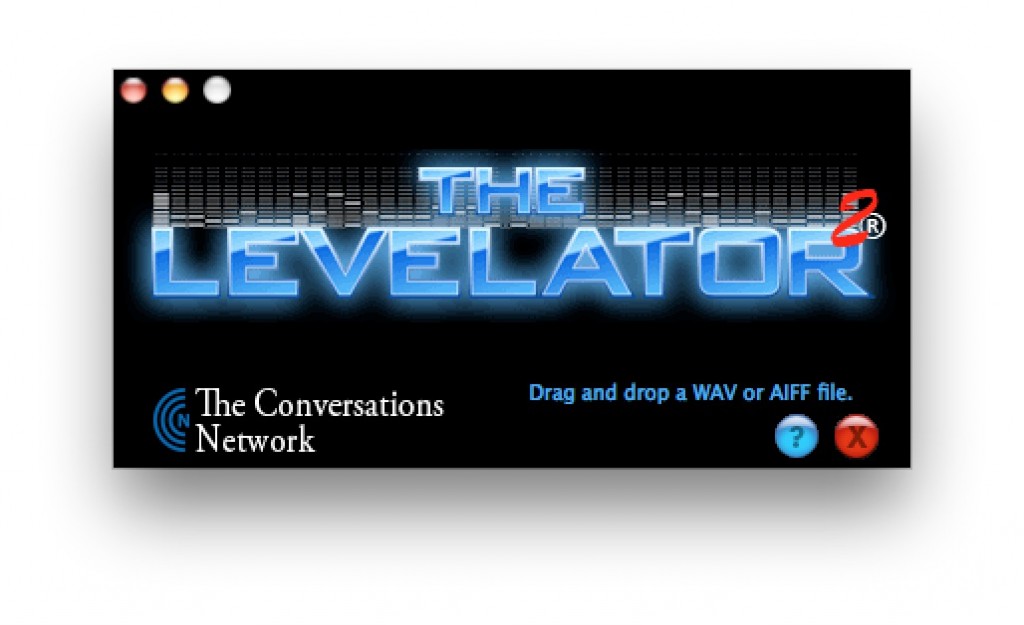
That’s a job for my not so secret weapon, The Levelator, a free tool designed by the people who use to do podcasts through the Conversation Network:
So what is The Levelator®? It’s software that runs on Windows, OS X (universal binary), or Linux (Ubuntu) that adjusts the audio levels within your podcast or other audio file for variations from one speaker to the next, for example. It’s not a compressor, normalizer or limiter although it contains all three. It’s much more than those tools, and it’s much simpler to use. The UI is dirt-simple: Drag-and-drop any WAV or AIFF file onto The Leveler’s application window, and a few moments later you’ll find a new version which just sounds better.
Have you ever recorded an interview in which you and your guest ended up at different volumes? How about a panel discussion where some people were close to microphones and others were not? These are the problems the post-production engineers of Team ITC here at The Conversations Network solve every day, and it used to take them hours of painstaking work with expensive and complex tools like SoundTrack Pro, Audacity, Sound Forge or Audition to solve them. Now it takes mere seconds. Seriously. The Levelator® is unlike any other audio tool you’ve ever seen, heard or used. It’s magic. And it’s free.
It does wonders for audio like today’s.
You end up with a copy of the file (nice, non-destructive) with sound levels much more optimized than the original.
I then open this file in Audacity, and trim off any excess at the beginning or end sometimes using fade in and fade out effects to smooth it. And then I just export it to an MP3 file to upload on my site.
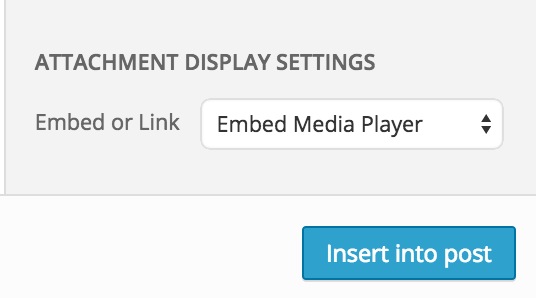
In WordPress you can upload mp3 files like images, and it creates a slick MP3 player – note the display option in the bottom right for “Embedded Media Player”
This gives you something like a bit of an Arizona thunderstorm:
What I do not like is that it does not provide a download link, so if you open Add Media again, select the same audio file, and use the Link to Media display option

You can get the HTML to put below the player as a download link
And one more bonus trick- if you edit the HTML for the link to include a download parameter in the HREF tag, when a visitor clicks the link, it should just download rather than loading the audio in a browser window:
<a href="http://mysite.org/sounds/t-storm.mp3" download>Download</a>
You cannot always be the one who moves the mic around the room!